When taking product photos, all photographers think about one issue very intensely. Yes, that one common thought is the eye-catchiness of the product photos that are taken by them. A solid reason is that a product photo is the first thing consumers will stare at, and obviously, it takes place before reaching a purchasing decision. In the beginning, if they find any flaw, they will change their mind to purchase the product.
Every photographer becomes inquisitive to know how professional photographers take product photos, but very few discover them correctly. Capturing product photographs is not a difficult task that anyone can do. One can acquire the capturing techniques by keeping some photography equipment in hand and mastering it like a professional.
Now, what gears do you need and what techniques to apply in the first place? Let’s discuss!
List of Product Photography Gears
If you want to take product photographs like professionals, you need to think about some major photography equipment lists that are required.
DSLR Camera
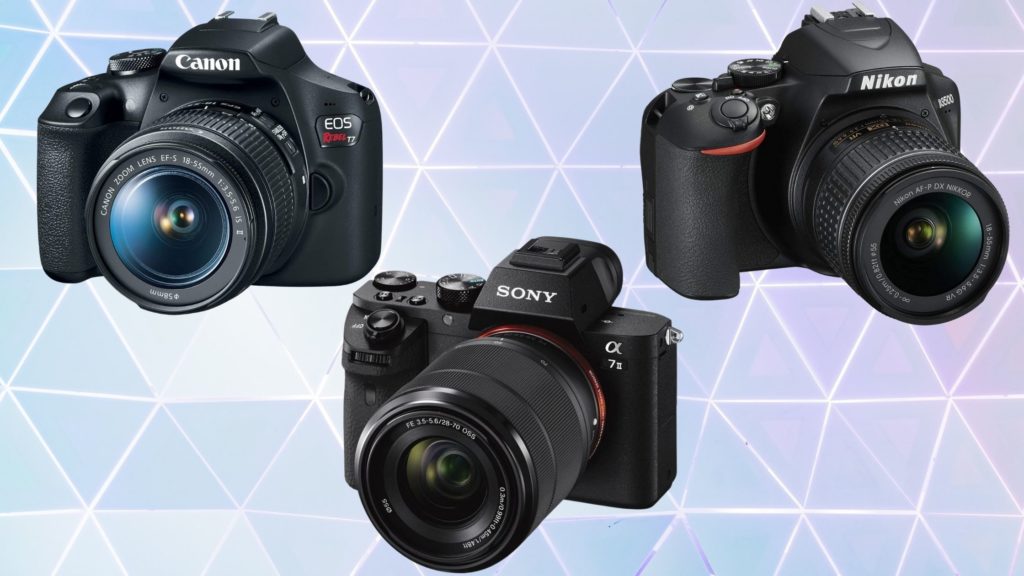
A quality DSLR is the primary requirement for product photography and it has no alternative. The good news is, these DSLR cameras are becoming cheaper now these days. A DSLR camera is not the only thing if you want to take notable product photos. You need to have good lenses too. One good idea would be great for you if you use a less expensive camera and buy other equipment with extra money.
So, the bottom line is “taking attractive product photos requires a professional camera, lenses and other gears too.”
TRIPOD
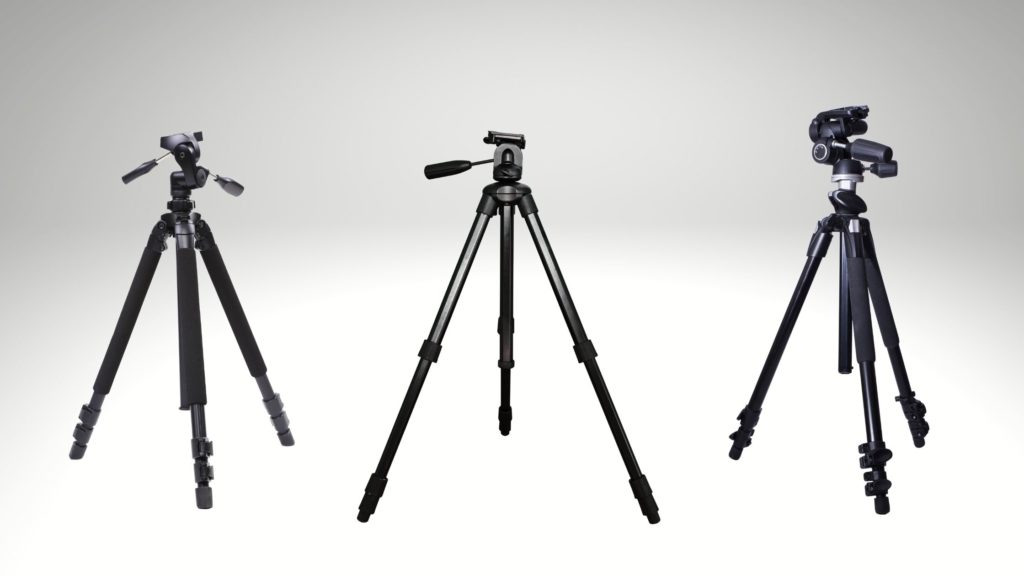
Tripod is one of the major gears that is highly required in product photography because you need to capture product photos with longer exposures and details are very vital. The photo gets blurred if the camera is held in one bare hand and it’s the main challenge.
Therefore, you must need a tripod to get a clear and clean photo so that details are covered in the picture. At the time of purchasing a tripod, you need to look for strong-built ones. It’s better to go for upper mid-range ones.
Lighting
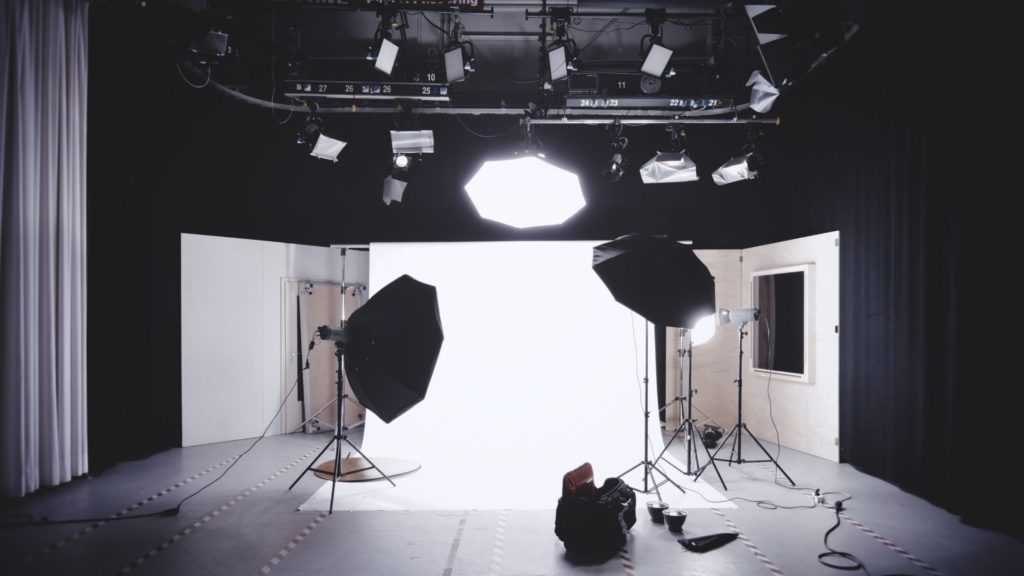
In photography, lighting is also a vital factor for taking photos. For lighting issues, two things are required – expertise and a satisfactory budget. If you want to take product photographs using low-cost or no-cost equipment, you need to use a natural source of lighting for taking pictures.
You can also consider a cost-free option if you know How to Take Product Photos with iPhone
A tip for getting natural lighting is to shoot outdoors. If the lighting sources seem extra, then a room with large windows is favorable for shooting.
Bounce Cards

As you finish determining the lighting source, you need to think of bounce cards. These tools enable you to a reduction of harsh shadows from your image. You can create shadows using bounce cards as you desire.
A golden rule for adjustment of shadows is:
- using black bounce cards will create shadows
- using white bounce cards will reduce shadows
Shoot Product on a Surface

You need to think of a solid surface on which you can shoot your products. It can be a table also if you work with small products like ornaments, stylish bags, etc.. You can use portable tables to carry them out whenever you want.
Clamps or Tape
Clamps or Tape is a handy resource for setting any backdrop. These can hang up a backdrop steadily and bring a clean and clear look when used.
White Backgrounds
A white background plays a vital role in product photography to make the product more noticeable. A product must be well-visible in a solid background, and among all the colors, white is the most preferred one. In the case of small products, you can use a self-made softbox. You can also make various DIY lightboxes using cheap and scrap materials.
Taking Product Photos know-hows
There are various ways to shoot appealing product photos if you can follow some simple steps. Let’s have a look at a glance.
Stage Setup
Professionally taking photos is not an overnight task, and that requires years of practice and a plethora of knowledge. It is essential to set up a stage where the products are displayed. Setting up the stage where your product will stand is very important. If you shoot the photos in an indoor facility, you must consider the place near a large window because one can get enough lighting for shooting.
Earlier, we discussed using a durable table or surface against a wall can make it steady. If there is the presence of natural lighting, you should avoid any artificial lighting. When taking photos outside, you must avoid direct sunlight that falls on the frame. Otherwise, harsh shadows may appear in the picture.
Using Solid White Backdrop

Many famous stores or e-commerce platforms use a solid white background in product photos. The reason is that the product with white background creates such an environment for consumers to see what they are purchasing. Amazon and eBay follow the same concepts in setting their image requirements for product photos. These giant companies also suggest that retailers meticulously use white backgrounds in their product photos.
Camera Settings
You may think of adjusting camera settings for shooting awesome pictures. However, you should follow the following three essentials to edit product photographs:
- Aperture: This should be set to f/8.
- ISO: ISO should be between 100 to 200
- White Balance: This should be in auto mode
Now, you’re good to go for kicking off!
Product Placing
Appropriately placing the product can make a product picture much better. Frame the picture in a way that the product is placed in the middle of the stage. Sides of the product should be faced with the camera in such a way that the details and the best features are highlighted.
Controlling Shadows with Bounce Cards
The significance of using Bounce Cards is already described previously. Using bounce cards, you can control the shadows after setting up the stage and placing the product into the desired frame.
Make some Trial Shots
A saying goes, “practice makes a man perfect”. In photography, you can learn things from trials after trials. Now, you need to figure out whether the lighting set up and framing is okay or not. Make some trial shots so that you can adjust them if required.
Trial Time is Over, Go for Real Capture
Yeah! It’s time to take a real picture of the product. Here are some simple tricks to follow:
- Change the positions while shooting from one direction
- Take multiple shots of the product
- Identify only the one best shot until uploading the images to a big screen
Product Photo Editing
At this stage, considerably a final step, the quality of the product images changes from better to an attractive one. This is not a simple topic and general task where Product photo editing is concerned. You have to take it very seriously!!!
You cannot tell that the product photos of yours are stunning only after photo retouching.
Because only making your product image gorgeous by retouching it isn’t enough. Some certain rules of the image requirements of eCommerce platforms need to be followed while you edit your product photo very rigorously.
Concluding Thoughts
Don’t be overwhelmed if you shoot product photos with a professional setup. A classy product photo comprises professional capturing and creative image editing.
Of course, with a limited budget or zero investment, anyone can work as a professional photographer. For that, one must work out, practice, make trial and error day and night, whatever you may term in your language.
In the concluding line, we can infer that with the help of this article, you can shoot like a professional photographer if you follow the rules precisely.