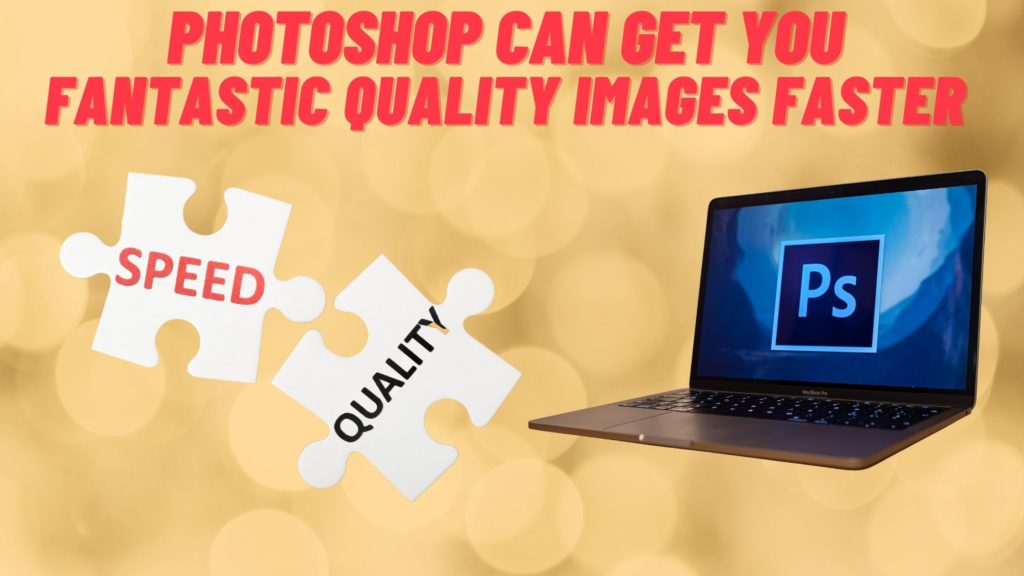
Image editing makes a great photograph through an outcome of procedures that involve extensive work to improve the quality. As a result, the final product even may create a jaw-dropping moment. Therefore, a step-by-step procedure can help to understand how to edit an image using Photoshop. In this way, anyone can realize how to turn a picture into customers by processing it more noticeable.
The following steps show how to edit an image in Photoshop to a professional standard.
Step # 1: Importing an Image for image editing
- Click on the particular file that is needed to be imported
- To select Photo JPEG, PNG, PSD, etc.
- To open the image
Step # 2: Apply Photo Retouching

This “Clone Stamp Tool” or a Retouching Tool is useful for removing blemishes, dirt, and spots of an image. In addition, a careful adjustment of the opacity of the brush can help to remove the dirt progressively. The next step is to apply a smooth stroke to remove any blemishes based on top to bottom approach.
Step # 3: Brighten Image
The clearer the picture, the more a photograph is improved in terms of quality. A well-defined image with precise details can attract a customer. One can adjust the lighting of an image while changing the levels, curves, exposure, brightness, and contrast to make it happen.

Step # 4: Improving Color Adjustments in image editing
A valuable trick to get an eye-captivating product picture is to get the colors adjusted. To improve the overall color, vibrance, hue, saturation, and color balance are required. These adjustments are in two different ways:
- Enhancing the color by popping it out
- Having a natural adjustment

Step # 5: Cropping and Resizing in image editing
Cropping helps to trim out the sides of an image to look big and bold in terms of size. One can align the edges of an image wisely according to the specification. To keep the precision, a cropping tool also helps to trim out the ratio of an image. This way, one can achieve DPI to 72,200 or higher resolution.

Step # 6: Manipulating an image
In this stage, one can take out an area or part of an image as per requirement or when a part of an image is not achievable for retouching due to the degree of damage. For instance, Jewelry products require image manipulation, particularly when diamonds substitute the rings. In real estate agencies, we may see some pictures with and without some furniture items just to make them more attractive.
Step # 7: Removal of a Background
Next, Background removal is one of the essential techniques in image editing services. In e-commerce websites, images are examples of this editing technique. To get a clean or lively portion of an image, one can separate it by removing the background of an image. One can use a white background or a transparent background in the picture.
Step # 8: Increasing Sharpness
Then, filter and sharpen tools can allow one to improve the clarity of a photo and to get a sharper image. However, the “Sharpening Tool’ can also help to adjust the opacity to 10% in order to sharpen the image progressively.
Step # 9: Finalization of Retouching
After bringing all the changes to an image, one can apply a final retouching at this stage. Next, it must furnish the remaining portions that are yet observable. A Clone Stamp is mandatory to touch up some areas lastly.
Step # 10: Saving the Image
In this step, one can save the image file by exporting it to JPEG, PSD, PNG, or any other format compatible with the website. It is very important to consider that while compressing the file size, the file should be able to load quickly in marketplaces like Amazon, eBay, or any other e-commerce website.
To get a fantastic photo serving the desired purpose, all these steps may seem cumbersome for those who need a real quick solution.
Hence, Contact Photo Color Lab (PCL) and get a quote to avail of such service right away.